Nikola Tesla Articles
Tour of the High Energy Amateur Science Lab
Over the last 35 years, electronics systems engineer Richard Hull has done some serious tinkering with Tesla coils, electrostatic devices, water arc systems, nuclear fusion devices and many smaller projects in his home in Richmond, VA. This paper, based on hard-won successes with a few expensive false starts, offers tips to amateur scientists interested in assembling their own labs.
History of the Tesla Coil Builders Of Richmond (TCBOR)/High Energy Amateur Science (HEAS) Laboratory
My current facilities have evolved since I moved to my current home. From 1976 until 1990, I used the entire finished upstairs area as a lab and work area. This area is cramped by my current standards, but was the largest area I had had as an adult for experimental work. It is approximately 30 ft. long and 12 ft. wide with a small storage area behind the walls for unused equipment and components. Referred to as “the old lab”, this area is currently used as my dedicated electronics lab and reference library. When this 360 sq. fit. area was my main lab, it was packed with machine tools, electronics equipment and computer gear. Much of my earliest Tesla coil work was done in this area. After destroying a couple of computers with high E-fields and ozone-poisoning myself on two occasions, I determined that a separate lab was warranted.
In 1990, I contracted a local builder to add a large, single room extension off the back of the house. The structure was 36 ft. long and 22 ft. wide with a concrete floor and a roof that pitched out gently from the existing rear roof. The very high ceiling, sloping from 10 ft. up to 20 ft., was ideal for Tesla coil work.
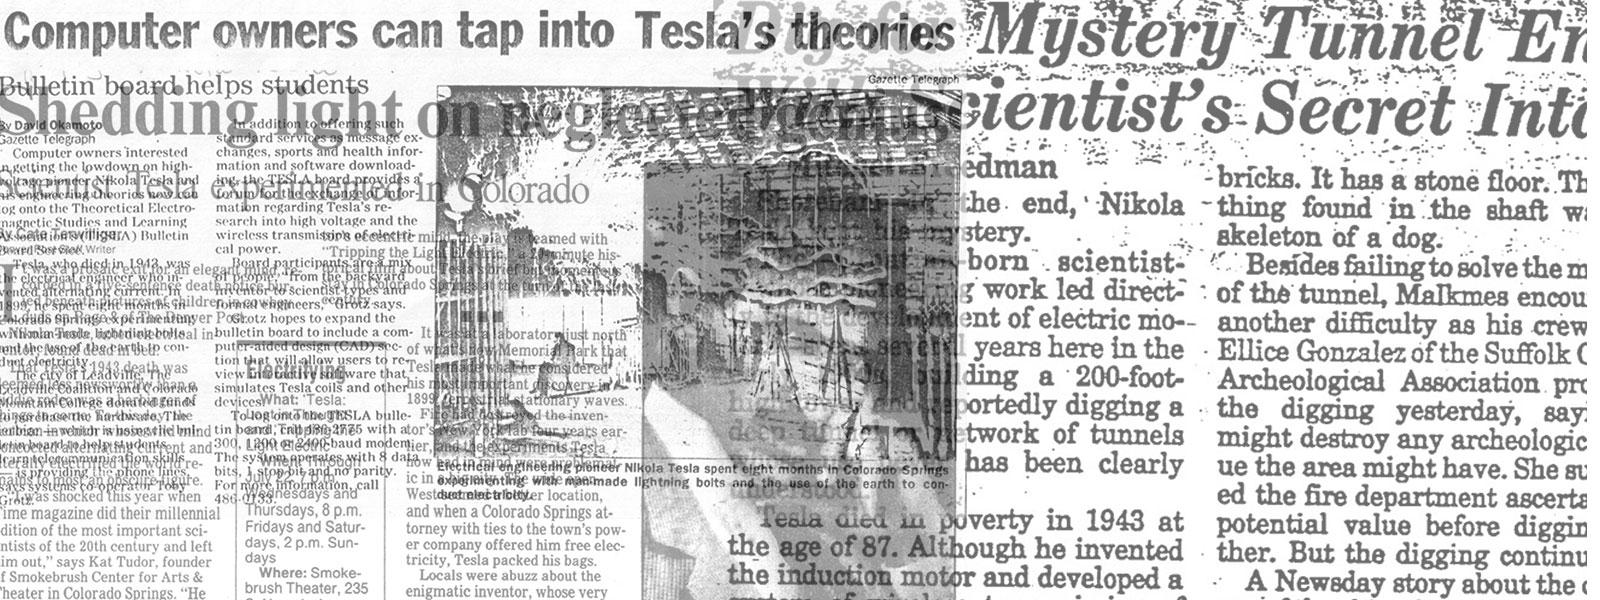
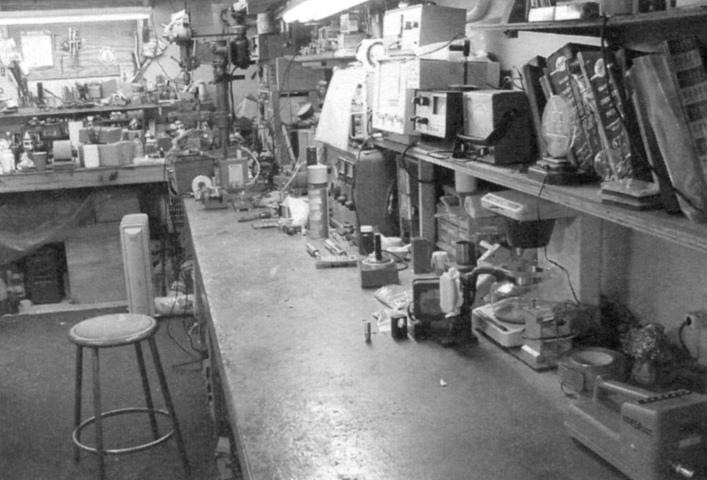
All heavy machine tools, large bench work and other shop items were removed from the old lab and placed in the larger 792 sq. ft. facility. (See Fig. 1.) This provided room for an ever-expanding machine shop area and allowed me to remove the heavy machinery from my home’s second floor, thereby opening up room in the older lab area. Both labs could now evolve to complement each other.
The Old Lab Evolves
The old lab could now safely house computers and electronics without fear of harm from the E-fields associated with the high-energy environment planned for the new lab. To prevent toxic levels of ozone from entering the house, I decided not to place a door between the living space and the new laboratory, thus maintaining isolated air spaces. The new lab is accessible only via an outside door.
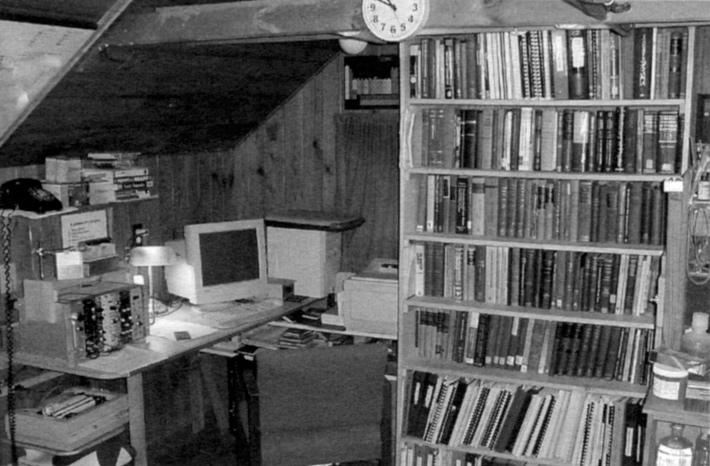
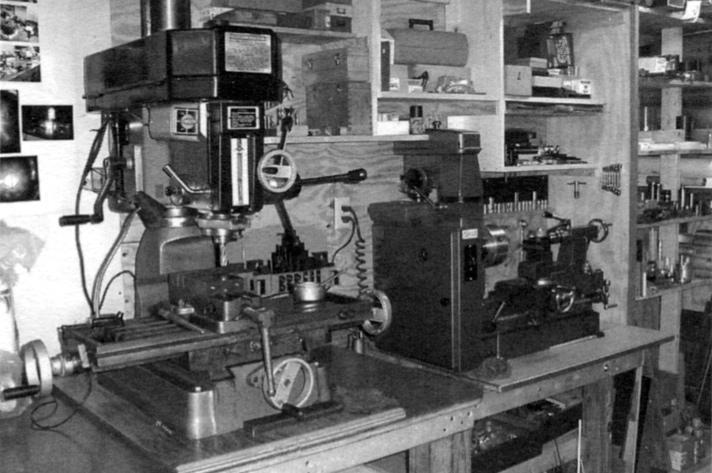
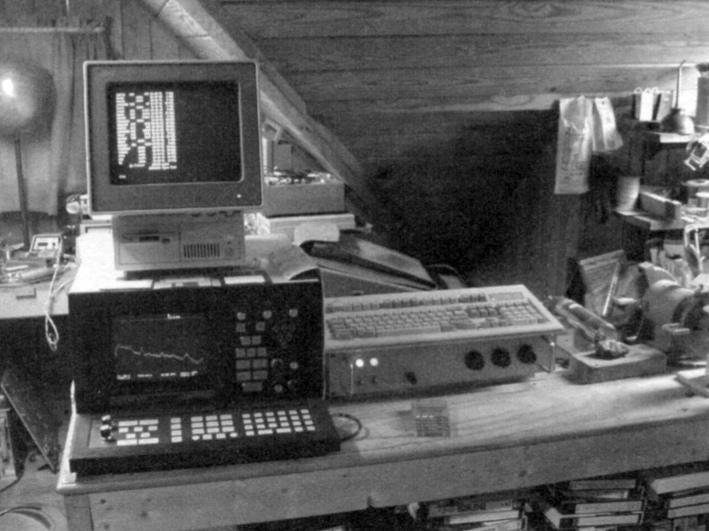
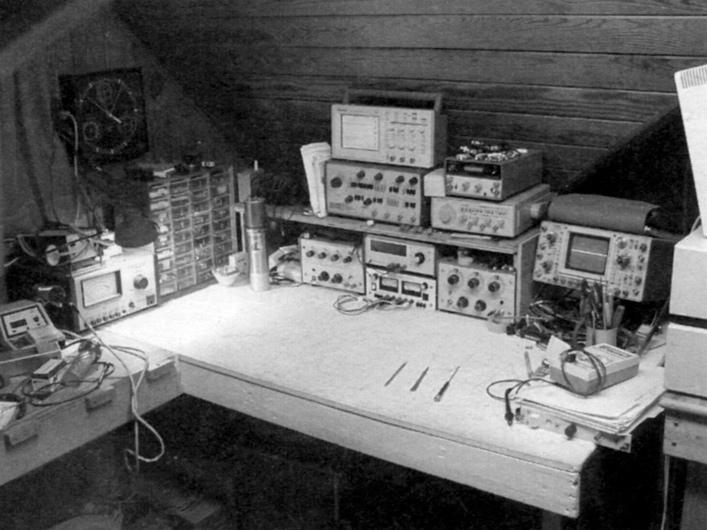
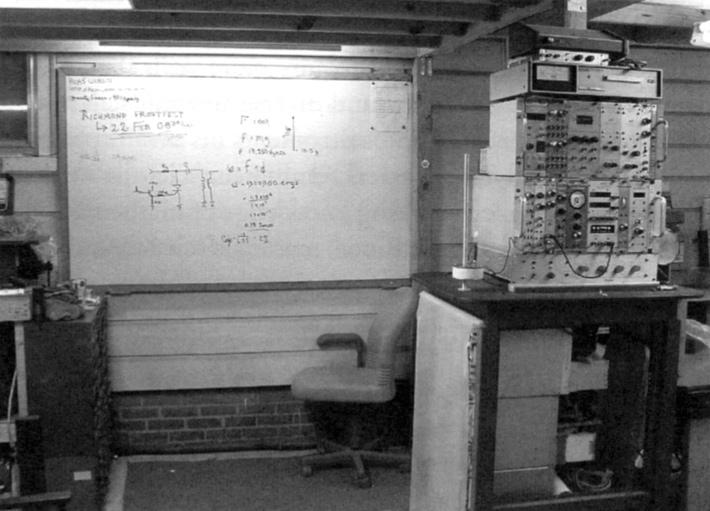
The old lab, which is heated and insulated, becomes a winter retreat of sorts. On the coldest winter days, the old lab is used for electronic experimentation and instrumentation design, assembly, and repair. Only recently has it has taken on the additional role of housing my scientific reference library of approximately 200 volumes. (See Fig. 2.) It is a great place to do research via the internet or search through some of the best older texts. It also houses a modest nuclear spectrometry lab. I can check materials for gamma ray signatures and alpha particle energies, and I plan to acquire a beta spectrometer in the future. (See Fig. 3.)
The New Lab Evolves
From 1990 until about 1996, the new lab was the home of some of the most active Tesla coil experimentation one might imagine. It all culminated in the 12-kW “Nemesis” system, capable of producing 16-ft. arcs and setting things in the lab on fire. The superhigh energy quest slowly led to the construction of smaller, more efficient Tesla magnifier systems, which were capable of producing 10-ft. arcs at only 6 kW. (See ESJ 10:7-12.) By 1996, Nemesis had been dismantled and the Tesla coil research focus shifted toward smaller magnifiers capable of only 1 ft. of spark at high efficiency.
During that time, the large, open lab became crowded. To allow the lab to thin out a bit, I added an 8 ft. by 22 ft. loft to the front of the lab in 1994. This provided storage space for a lot of the smaller material that had been stored on the floor. There remained a generous 8-ft. ceiling below and 616 sq. ft. of lab space with the high ceiling needed for Tesla work. More crowding led to another 10-ft. extension of the loft, resulting in a conventional ceiling over half the lab. In 2000, the last major Tesla coil system was dismantled, and the TCBOR was officially renamed the High Energy Amateur Science group or HEAS. With no further need for high ceilings, a major revamping of the main lab was undertaken between 2002 and 2003. The loft was extended to completely cover the lab and provide 792 sq. ft. of storage area. With this final closing off of the high ceiling, it became economically feasible to heat the lab, even though the area remains uninsulated.
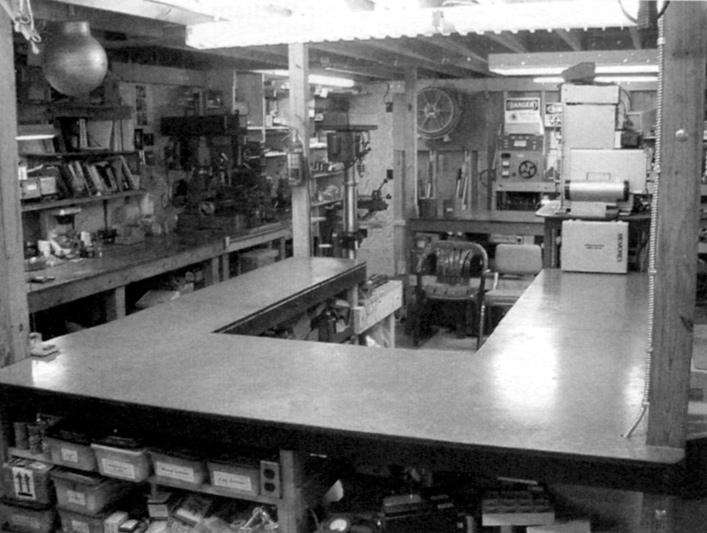
The amount of workbench area in the lab was doubled, with the new bench work intelligently placed and scaled to meet specific purposes. For example, the lab is the gathering place for the monthly HEAS meetings. Approximately 10-15 people might show up with materials to sell or projects to show off or discuss. They need bench space with accessible electrical power and good lighting for many of their demonstrations, and room for about 10 onlookers. (See Figs. 4-8.) All the regulars were excited about the new look of the lab.
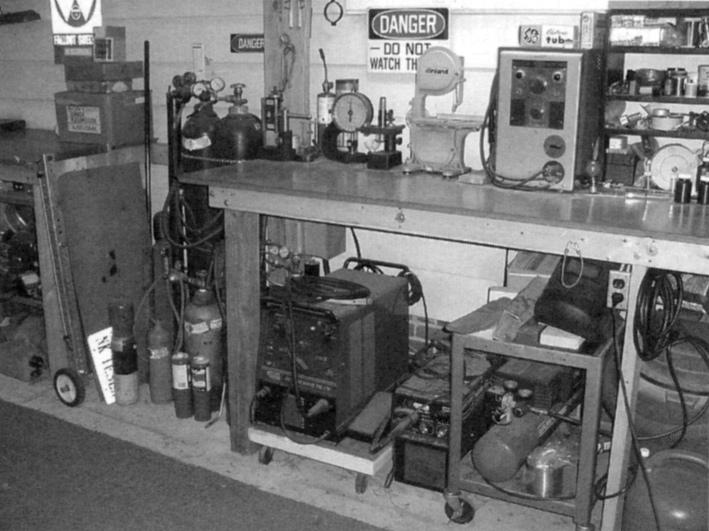
As another part of the two-year renovation, all large tools and welding materials were collected and placed in areas designated solely for heavy work. (See Fig. 9.) Ease of access to tools and parts was important. Old 24-in.-deep shelving was removed and new shelving was installed that was smaller, but more functional. Material that was not associated with bench work was removed to storage or discarded.
Considerations for Your Lab
Space
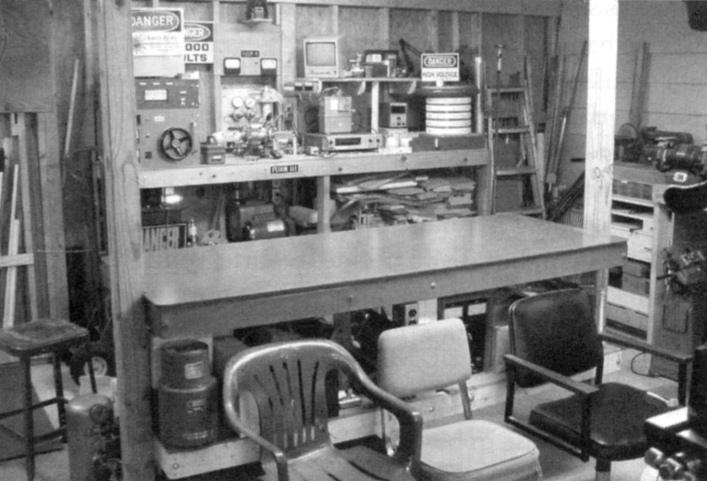
Figure out how much space you will need. Draw a floor plan. Place materials you have on this floor plan. Add bench work, bookshelves, storage shelving and plenty of electrical outlets, and see if the plan is realistic. Once you are happy with the plan, DOUBLE the square footage! DOUBLE the bench work! If you don’t, you are heading for disappointment over the long term.
Most labs evolve over time. The purse of the lab owner will determine the rate at which materials are obtained. Some labs are little more than workshops, tool or garage areas used for experimentation. The amount of available space will restrict the size of projects. In some situations, very little is needed to begin experimenting.
Equipment
Since readers of this journal are probably interested in setting up electric propulsion experiments, a good high-voltage power supply would be one of the first pieces of equipment to acquire. A voltmeter or multimeter and a specialty high-voltage meter, such as a TV anode voltmeter, are other laboratory basics. More specialized instruments, such as electrometers, picoammeters, signal generators, and digital storage scopes can be acquired as needed.
As devices will need to be assembled for experiments, a common group of hand tools are a must. The most useful power tools will likely be, in order, an electric drill or drill press, a band saw, a grinder, a small bench sander, a lathe, and a milling machine. If metal structures are going to be too rugged to be held together with screws or epoxy, soldering or welding capability will be needed. Soldering is cheaper and safer than welding, but if more brute force is needed, welding is a must. Many outsource welding to a machine shop, but if you decide to outfit yourself for welding, you will need an oxyacetylene torch, a stick welder, a MIG welder, a TIG welder, and/or a spot welder.
Skills - You’ve Got to Have Them!
It makes no sense to buy a lathe if you are clumsy with a hammer and hacksaw, or to purchase a TIG welder if you have no experience with metalwork. Likewise, a digital storage oscilloscope would be of no value to someone who had never even used a multimeter. Yet, the driven experimenter can learn if the need arises. I can’t imagine a single endeavor on earth that might require more skills than those demanded of a highly active and diverse amateur scientist who designs, assembles, and instruments his own experiments. A full-fledged, experienced amateur scientist might be expected to have a working knowledge of mathematics, statistics, computer applications, materials science, metallurgy, electrical science, electronics, nuclear physics, chemistry, scientific vacuum technique, gas handling, welding and soldering, machining, layout and design research, general lab technique, specialized instrumentation techniques and basic safety procedures for each discipline.
Books - You’d Better Use Them!
For many people today, reading is a chore. However, the ardent experimenter should spend at least as much time reading and researching a topic or discipline as he spends working with it. Books, especially the older texts, are some of the finest sources of useful information available. Build a small, versatile library of key texts and references. Its long-term value will recompense any initial expense many times over.
Summary
A laboratory is just a building filled with equipment and materials. But even the most well thought-out, best-equipped laboratory is useless without a competent and skilled experimenter. It needs adroit hands to bring forth new ideas and devices. If you have a strong will and sense of direction, are organized and intelligent, then you have the basic requirements to get started. Your lab will grow as your competence and skill level grows.